Movement
This part is pretty simple, especially if you're using a Sanwa or (most kinds of) Seimitsu lever. Those are literally plug-and-play. Just plug the five-pin connectors into each other on the side with the long bit extending off on the bottom and you're done.
Otherwise, if you have a:
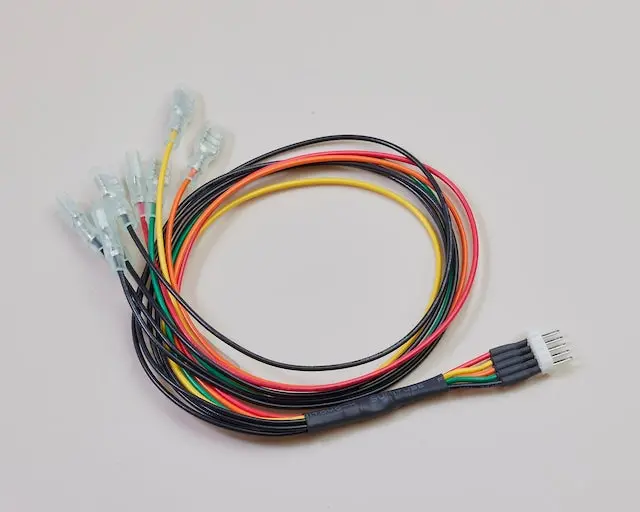
- Korean lever
- you'll need a 5-pin .187 wire harness
- Hitbox style controller
- you'll need a 5-pin .110 wire harness
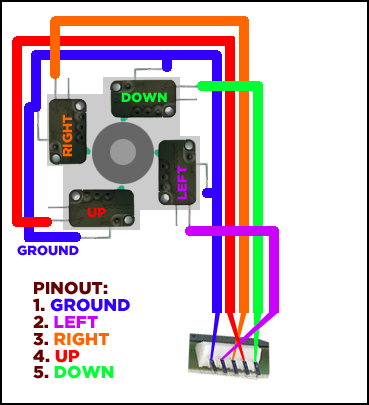
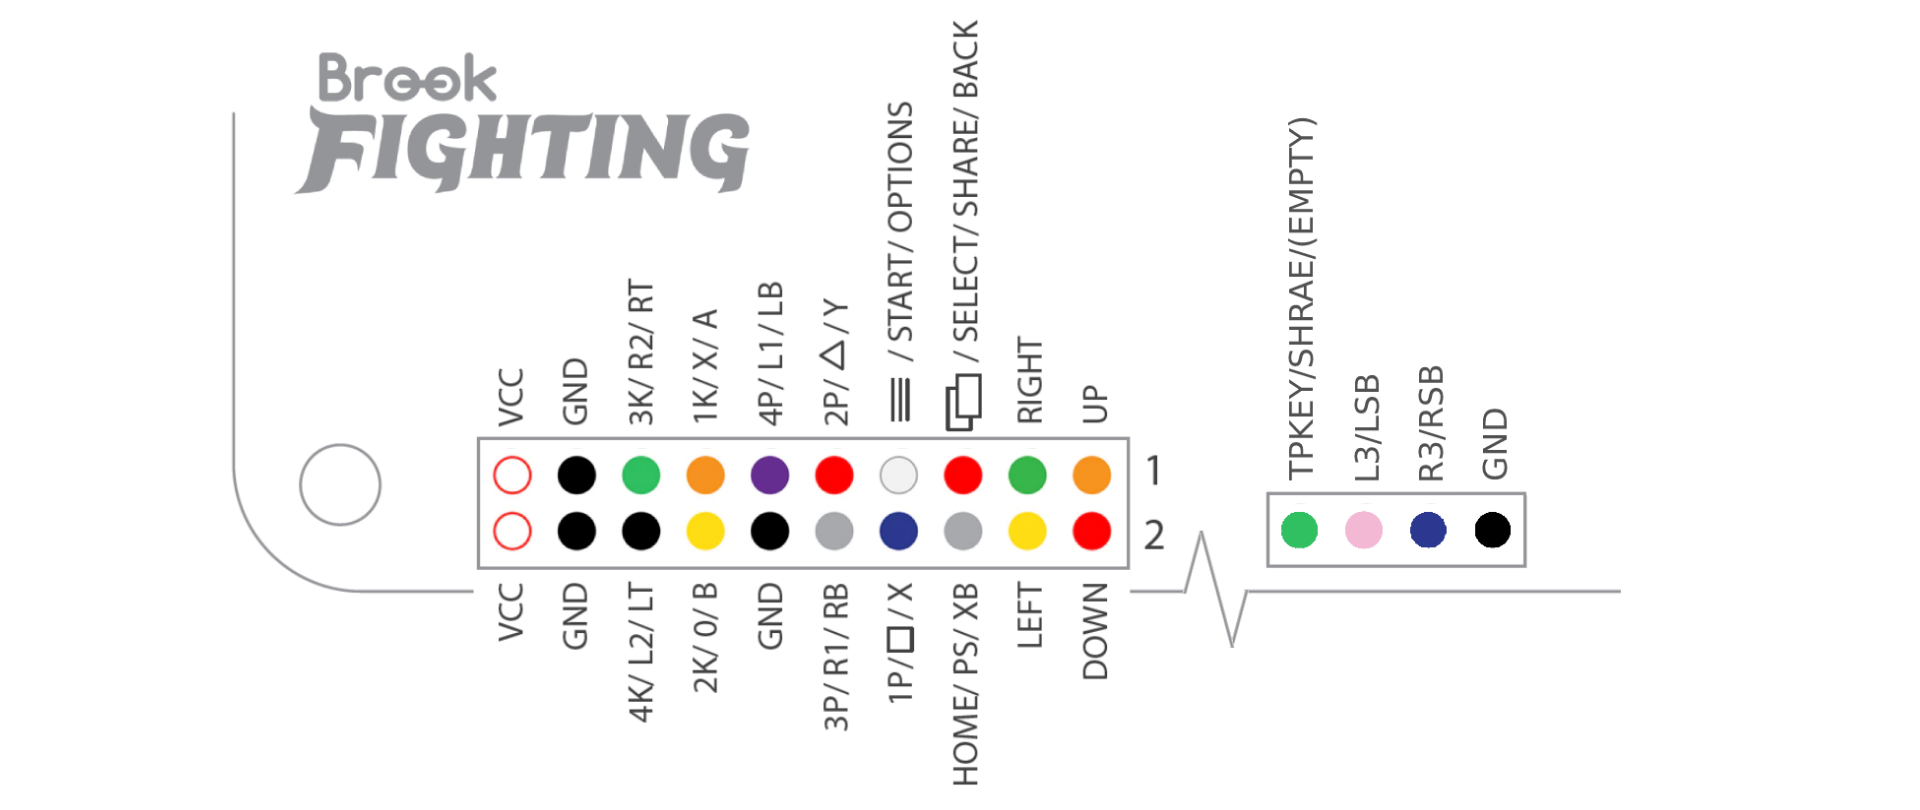
Korean lever AND hitbox users, reference this image when you're plugging your stuff in. Just pay attention to the colors. The ground wire will be black.
- you'll need a 5-pin .110 wire harness
Korean lever AND hitbox users, reference this image when you're plugging your stuff in. Just pay attention to the colors. The ground wire will be black.
 |
 |
 |
|---|---|---|
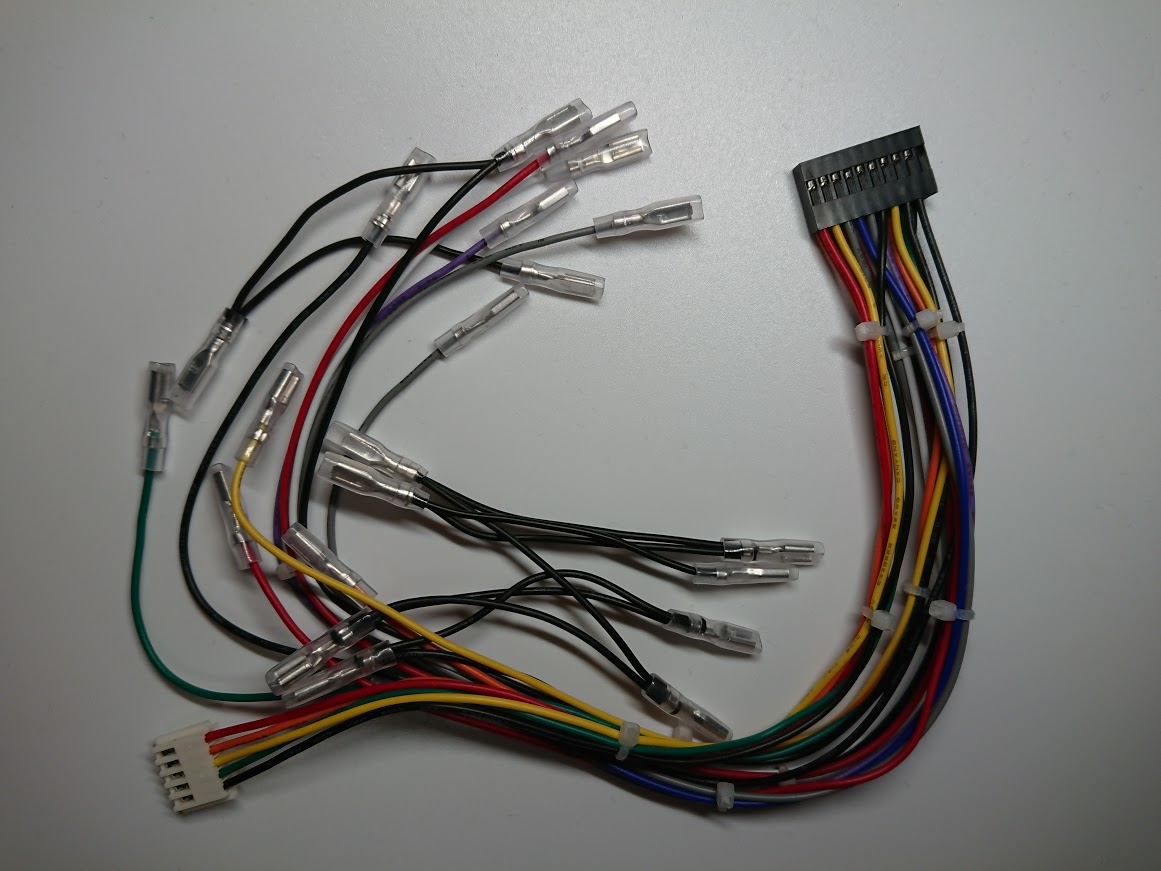
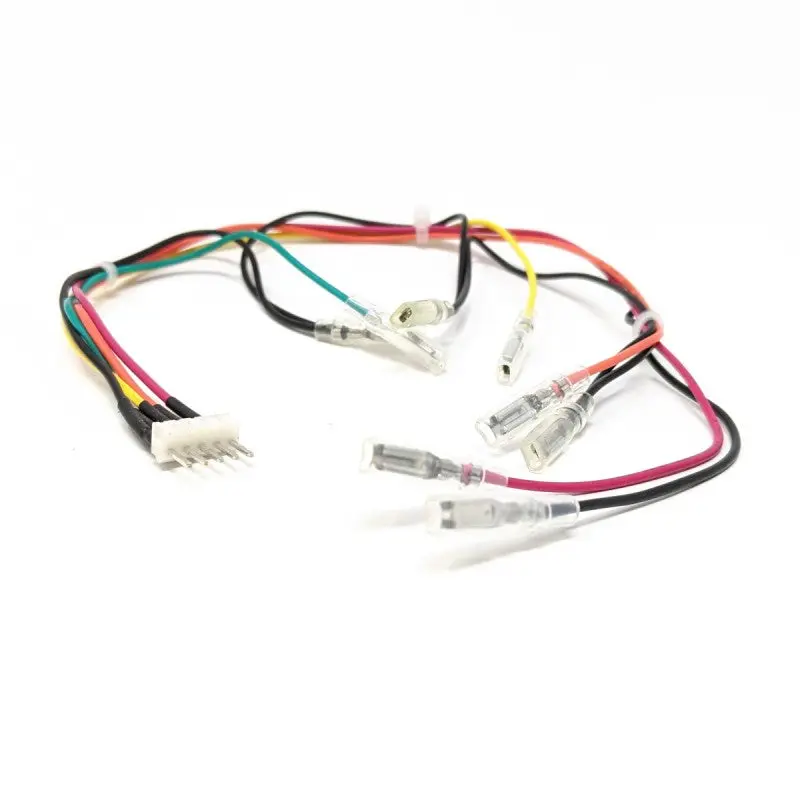
| A 20-pin wiring harness. | A k-lever conversion wire. | A hitbox conversion wire. |
 If you are using the 20-pin harness as I recommend, then your punches, kicks, and menu buttons should be on separate sections of the harness.